
My No-Nonsense Guide to Setting Up SEEDLab Ubuntu on VMWare (Because VirtualBox is Cramping My Style)
First I just want to explain WTH is SEED Lab. Based on its website, Seed Lab is a Hands-on Labs for Security Education.
Started in 2002, funded by a total of 1.3 million dollars from NSF, and now used by 1180 institutes worldwide, the SEED project’s objectives are to develop hands-on laboratory exercises (called SEED labs) for cybersecurity education, and to help instructors adopt these labs in their curricula.
There is a page on their website which helps students setup the lab on VirtualBox. But on my machine I already have VMWare installed, and I don’t want to have multiple VM Software cluttering up my system. To addon, the file provided by SEEDLab is in .vmdk format which is native to VMWare. TBH I don’t get why they don’t just use VMWare instead of VirtualBox but whatever right? (Maybe it’s a licensing thing, but the .vmdk file is a huge hint for us VMWare users).
Important Note: This guide uses VMWare Workstation Pro, but the steps are almost identical for VMWare Player (the free version). If you’re using Player, just look for the “Create a New Virtual Machine” option, it’s the same.
In this blog I won’t be teaching how to install VirtualBox or VMWare, that is up to you to find the tutorials on YouTube or whatnot, believe me, there’s a lot of them. (Pro tip: search “install VMWare Workstation 17” or whatever version you have).
Okay moving on.
Downloading the Pre-built Virtual Machine Images
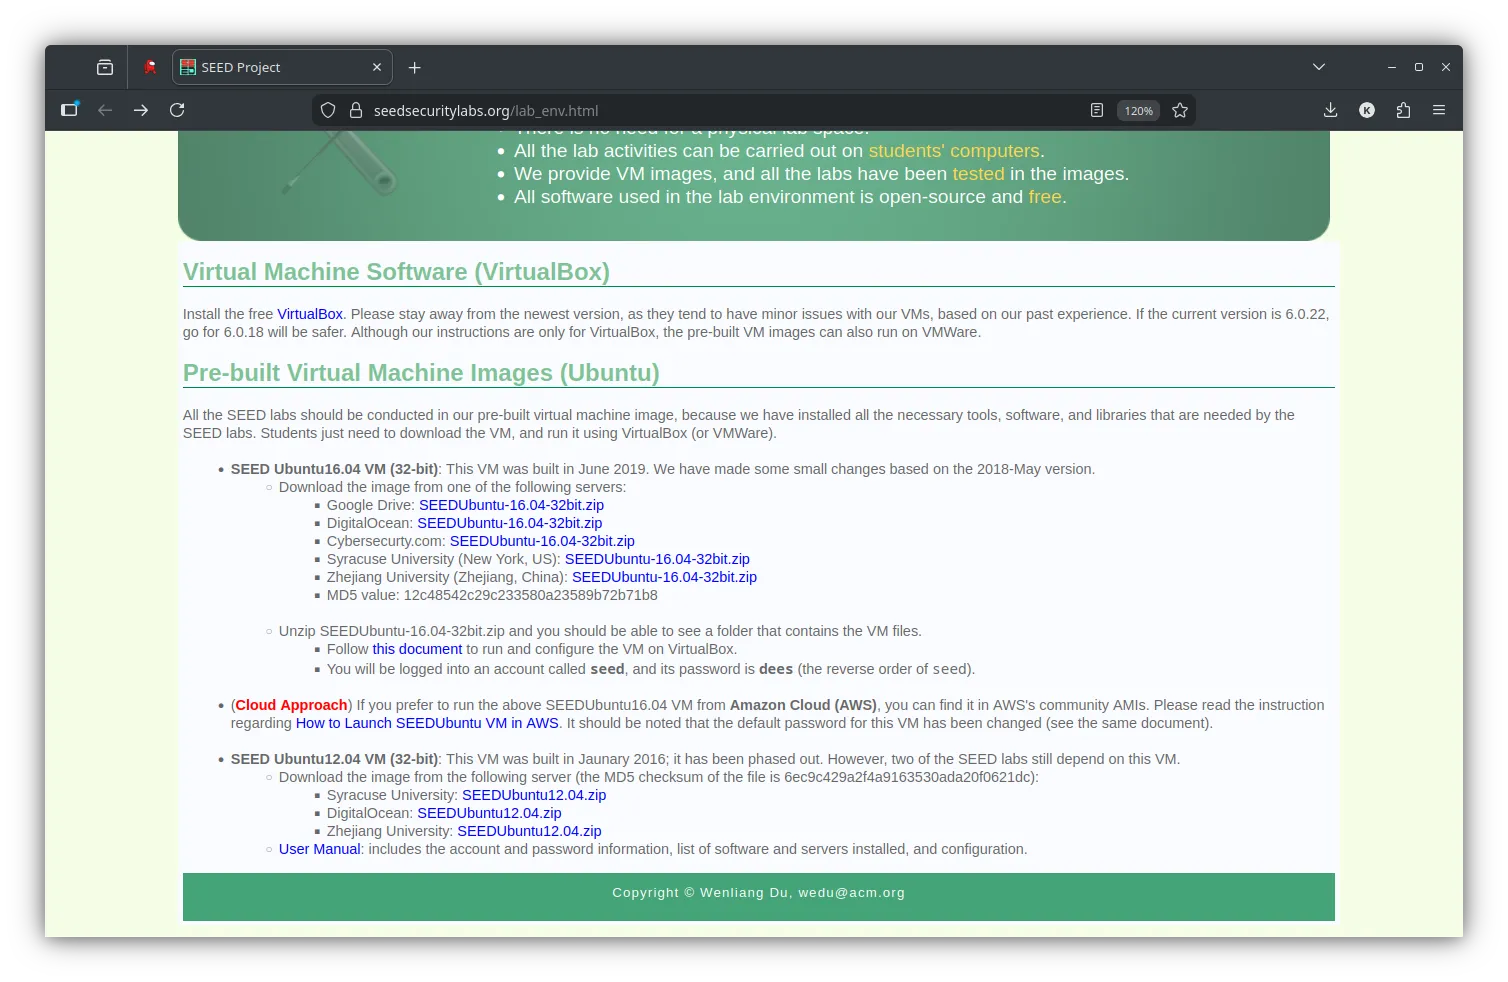
As you can see from the screenshot above, there are several links which you can download from. Just choose whichever you like most 🤷🏻♂️. Sometimes one mirror might be slower depending on your location. But for me, the DigitalOcean link worked fast and reliable so I will paste the link below.
Storage Check: The download is about 2.6 GB, so make sure you have enough space and a decent internet connection. Go grab a coffee or a snack.
After downloaded just extract the zip file and you will get a list of files like in image below.
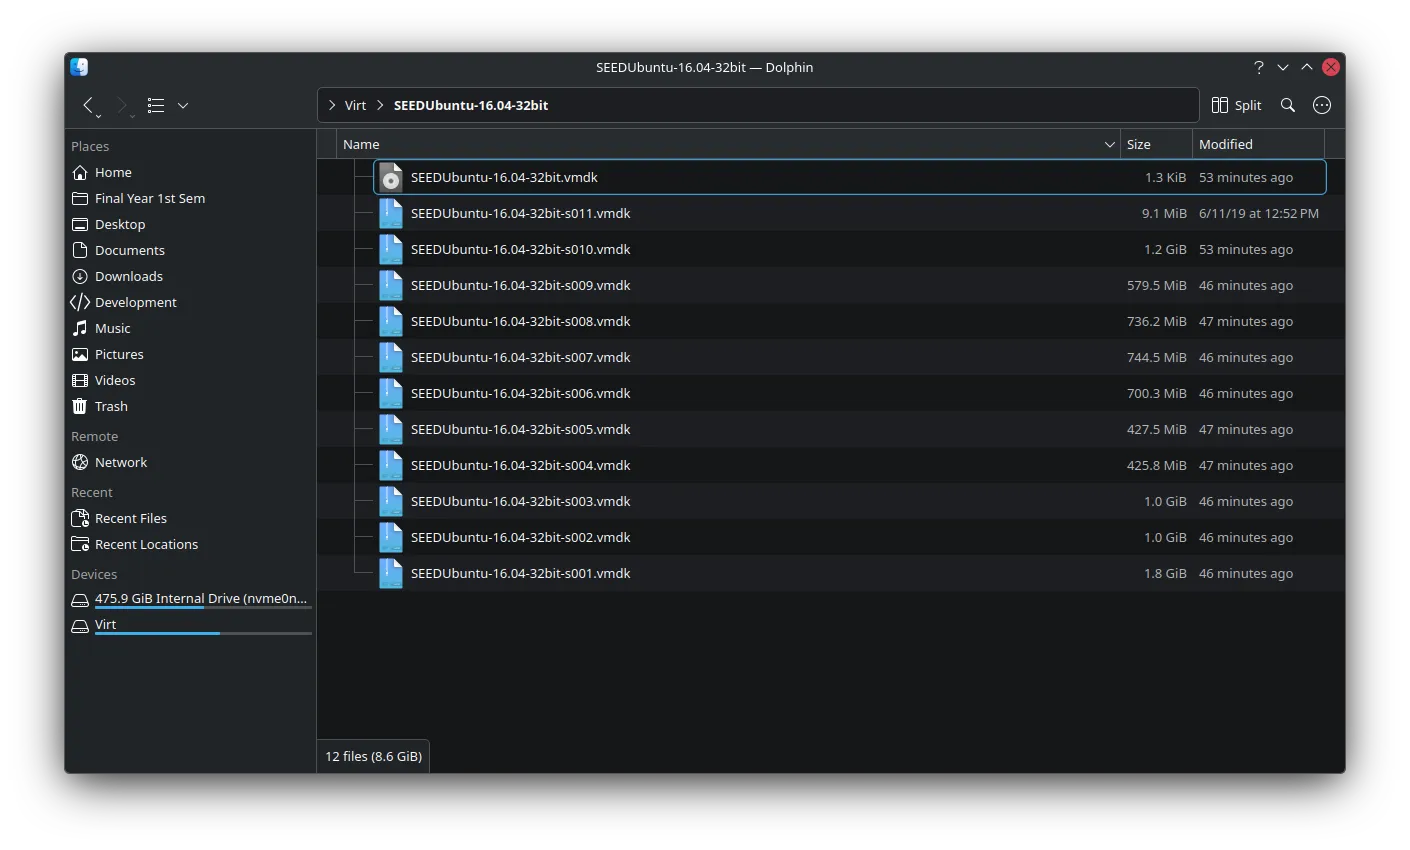
Okay done with 1st step. Good Job! Now let’s move on to setting up on your VMWare hehehehehe 😈
Setup Pre-built Image in VMWare Workstation
Just for your information my VMWare version are as below. Don’t worry if yours is slightly different (like 17.x or 16.x), the process is nearly identical.
Product: VMware® Workstation Pro 25H2Version: 25.0.0.24995812Okay, first fire up your VMWare.
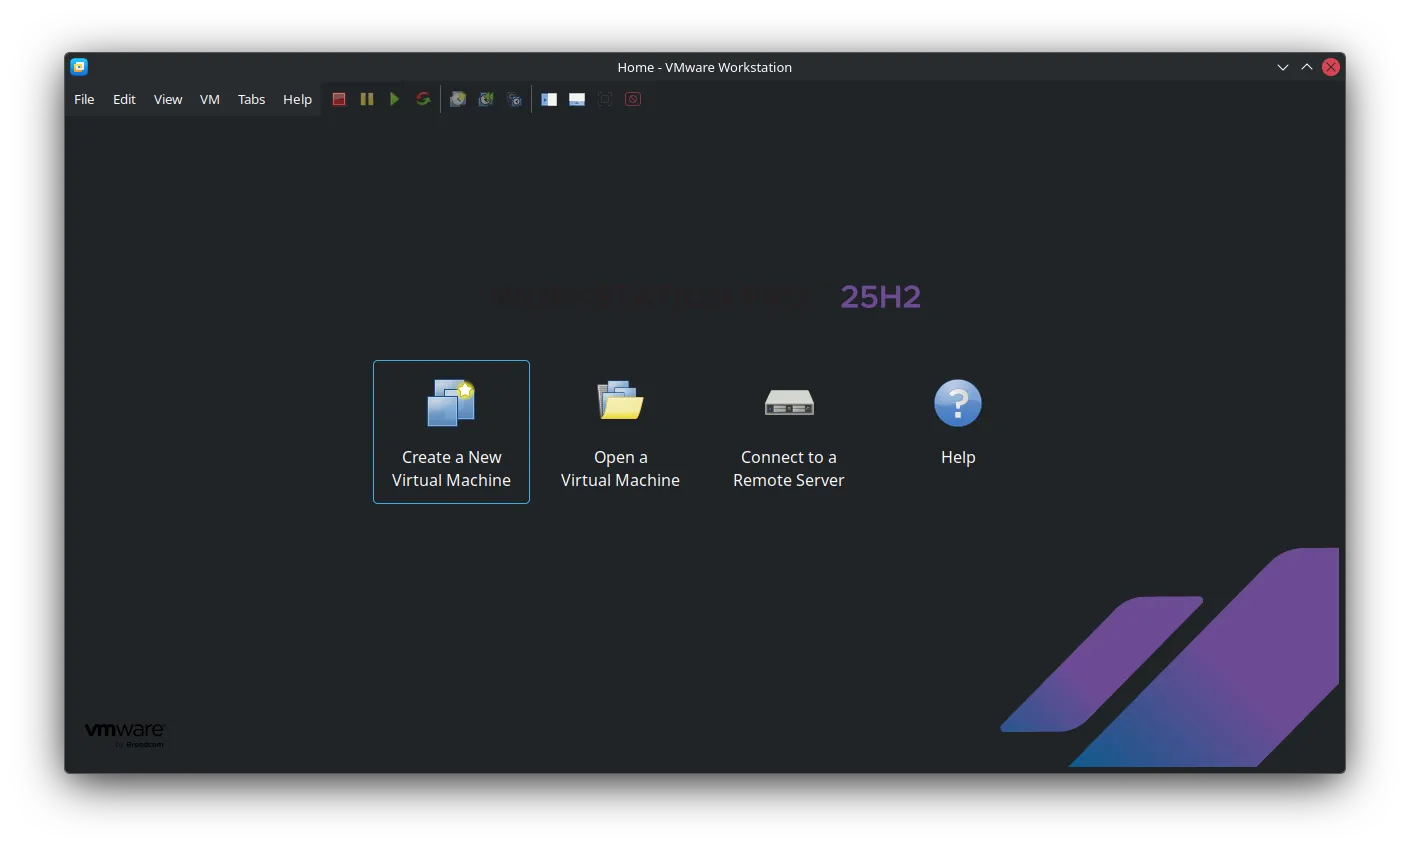
Click on Create a New Virtual Machine and you will be greeted with the windows as below.
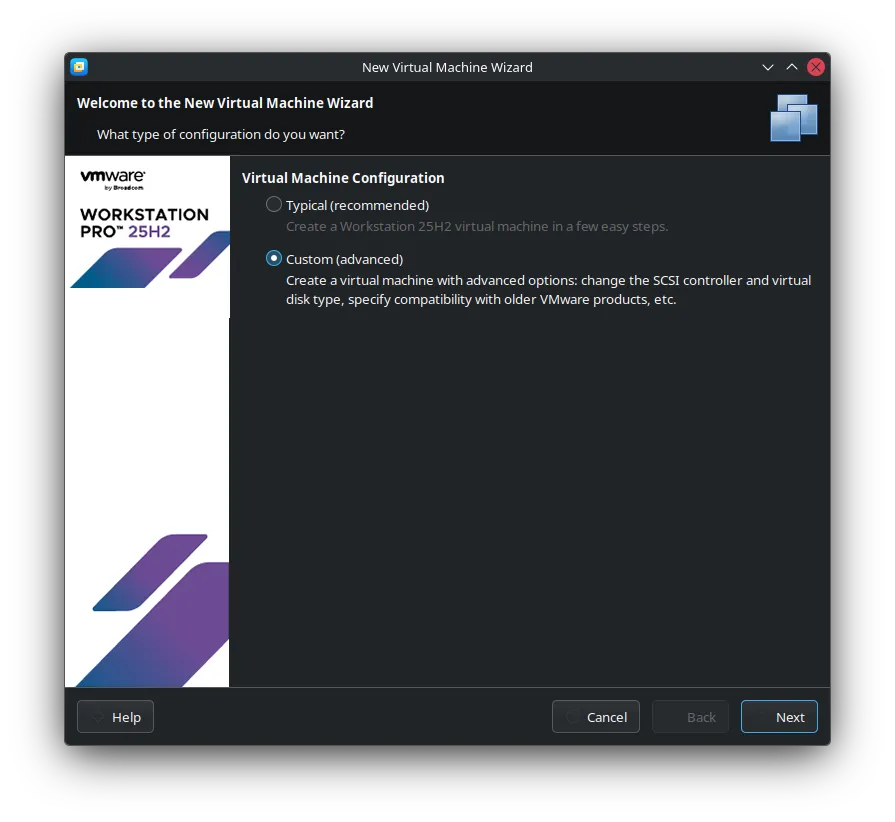
Choose Custom (advanced). This gives us more control, and it’s actually simpler for importing an existing disk. Click next.
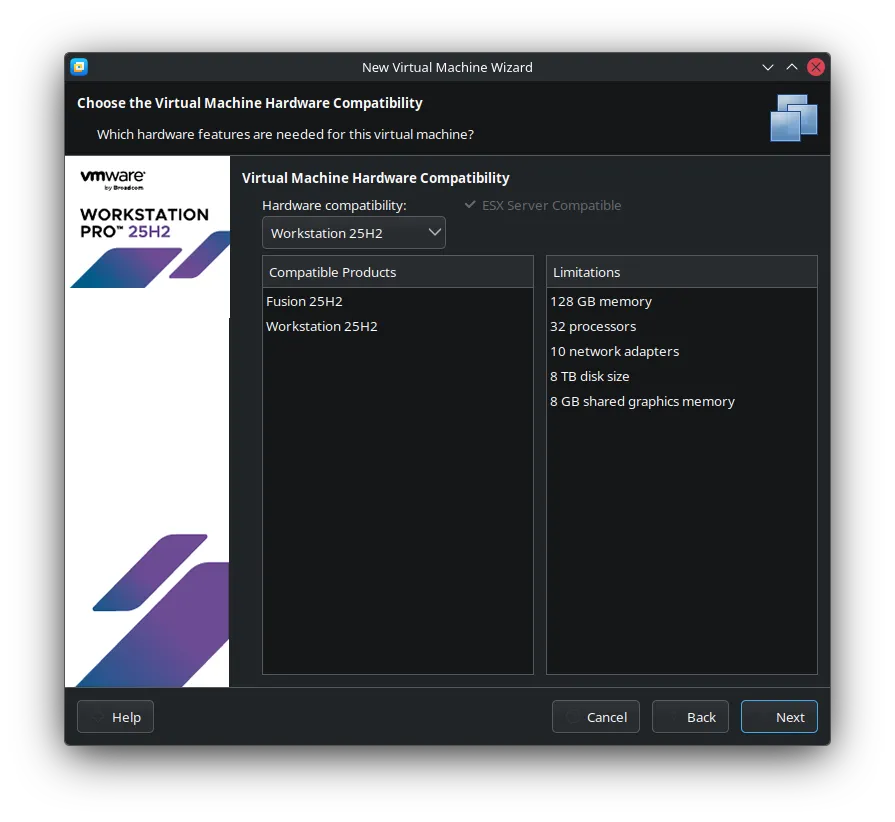
This screen is about hardware compatibility. Just leave it as the default (usually the latest version your VMWare supports). This ensures best performance. Click on next.
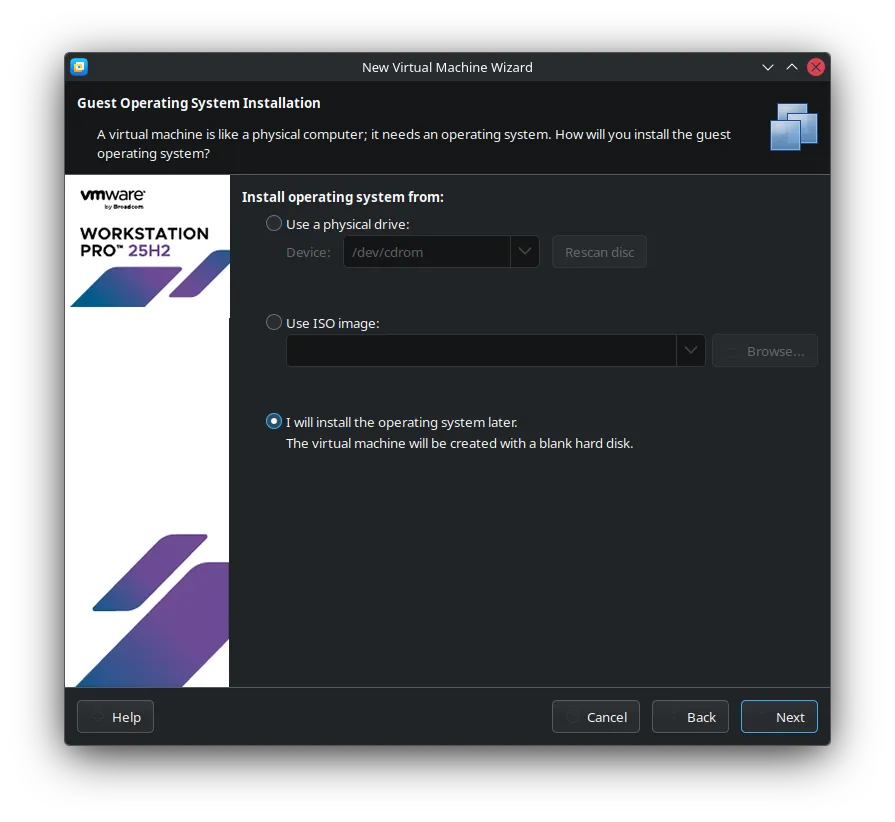
Very Important Step: Choose I will install the operating system later. If you choose the other option, VMWare might try to create a new blank disk, which is not what we want. We already have the OS on the .vmdk file. Click next.
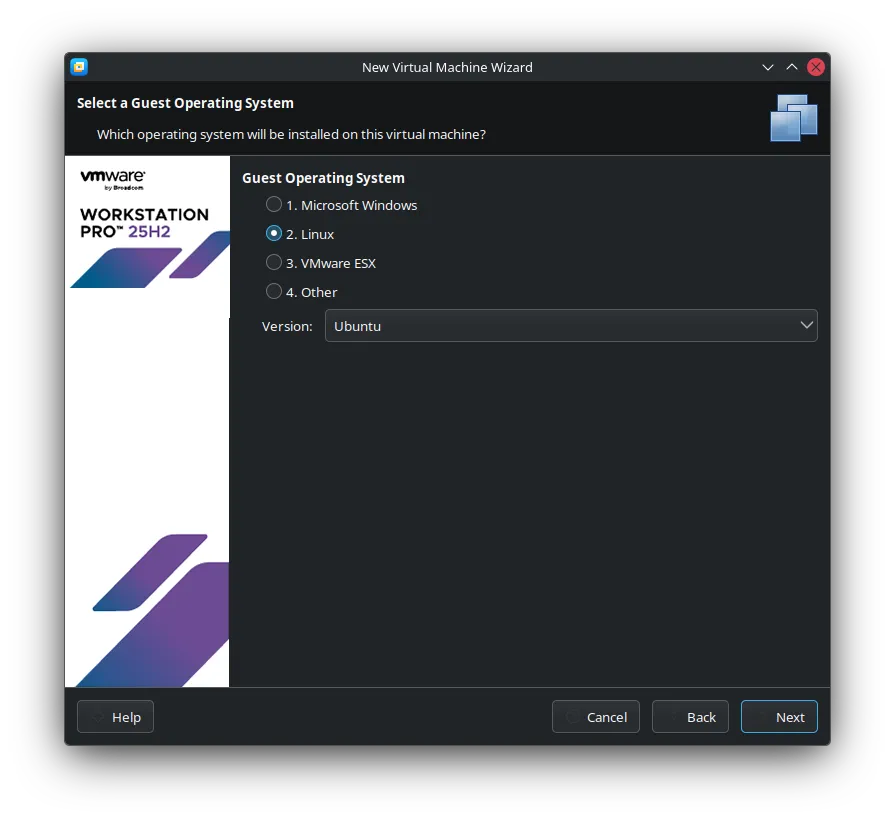
For Operating System choose Linux and Version choose Ubuntu. Make sure to choose the 32-bit version because our pre-built SEEDUbuntu image is 32-bit (even though it says 16.04). Don’t choose “Ubuntu 64-bit”. Go to next.
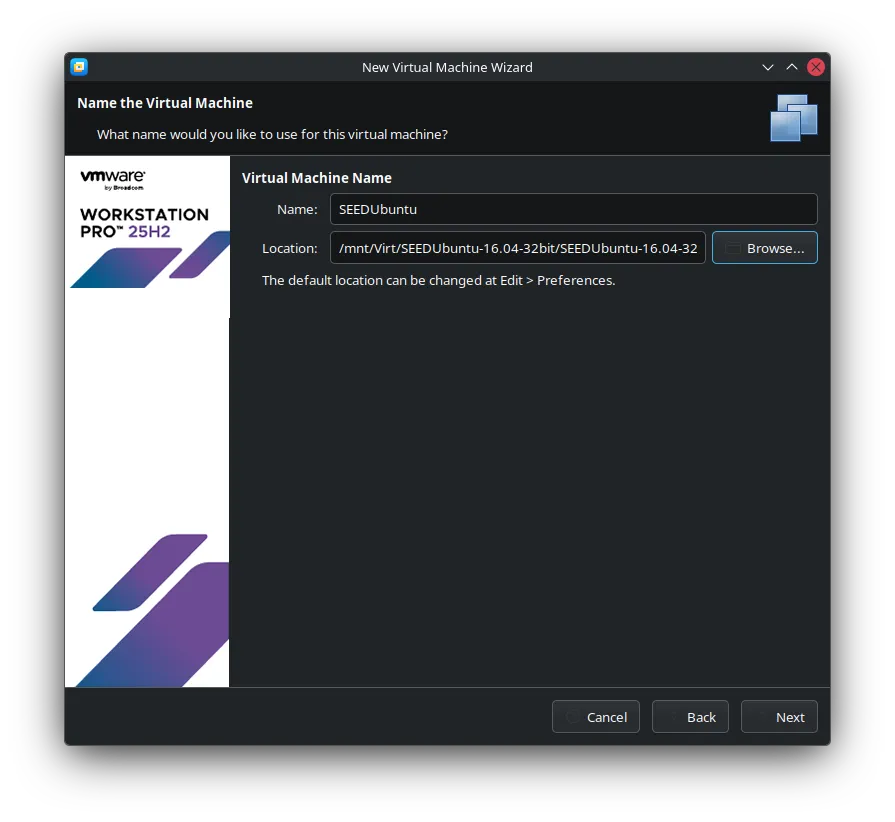
This one it just ask you to name your Virtual Machine. The name is up to you but for my one I will just put SEEDUbuntu. Then for the Location, it is basically asking for a directory where VMWare will save all the VM Files.
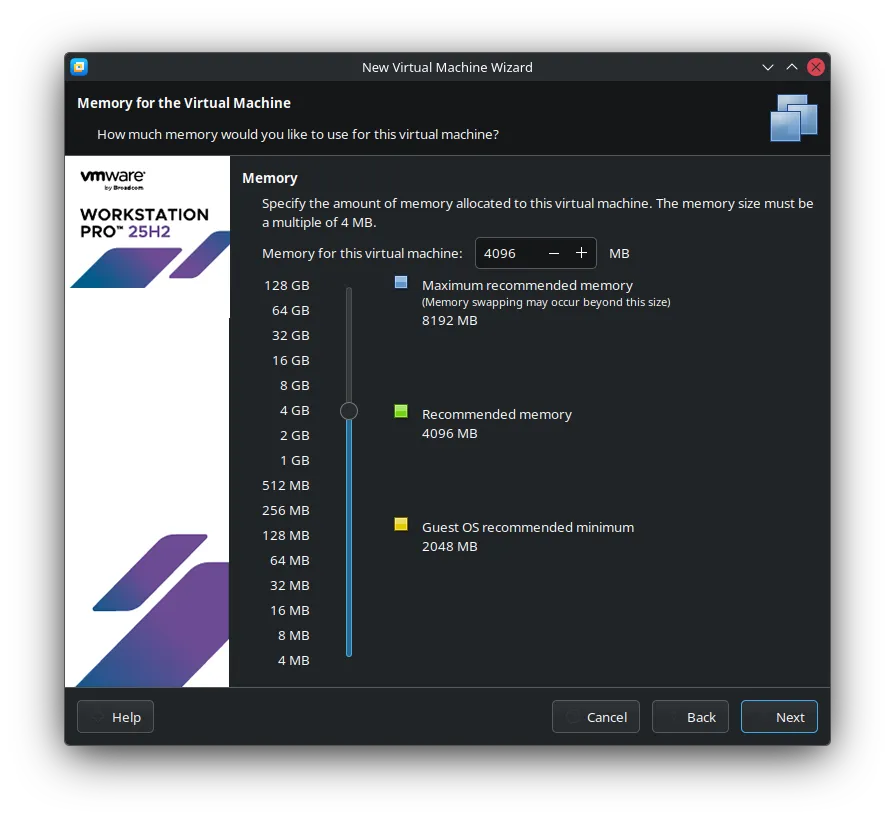
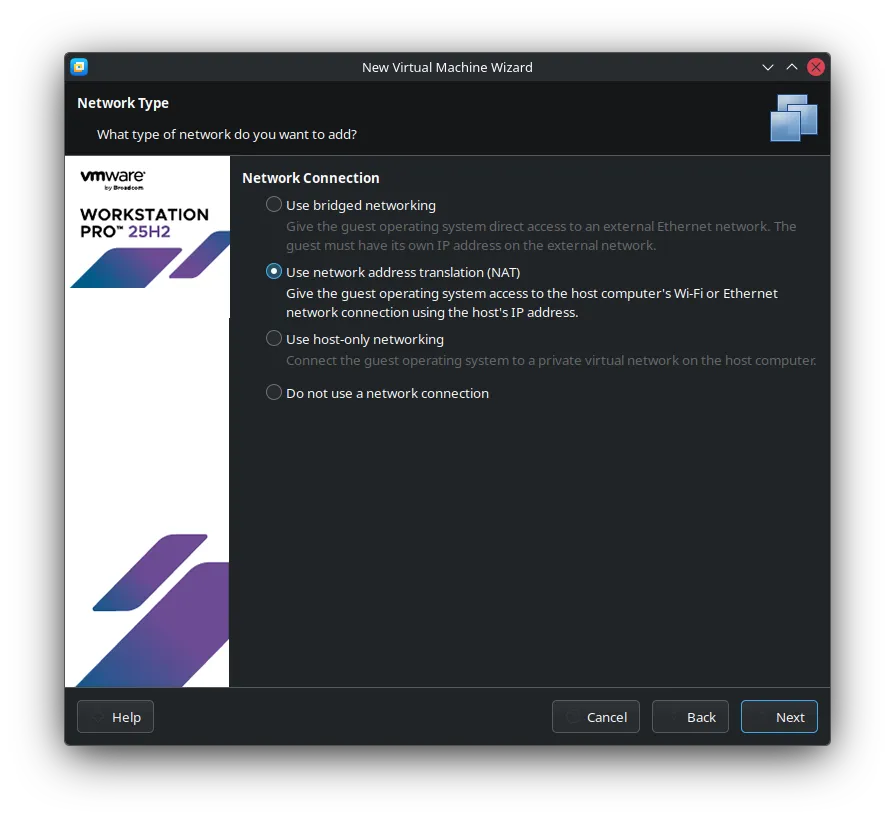
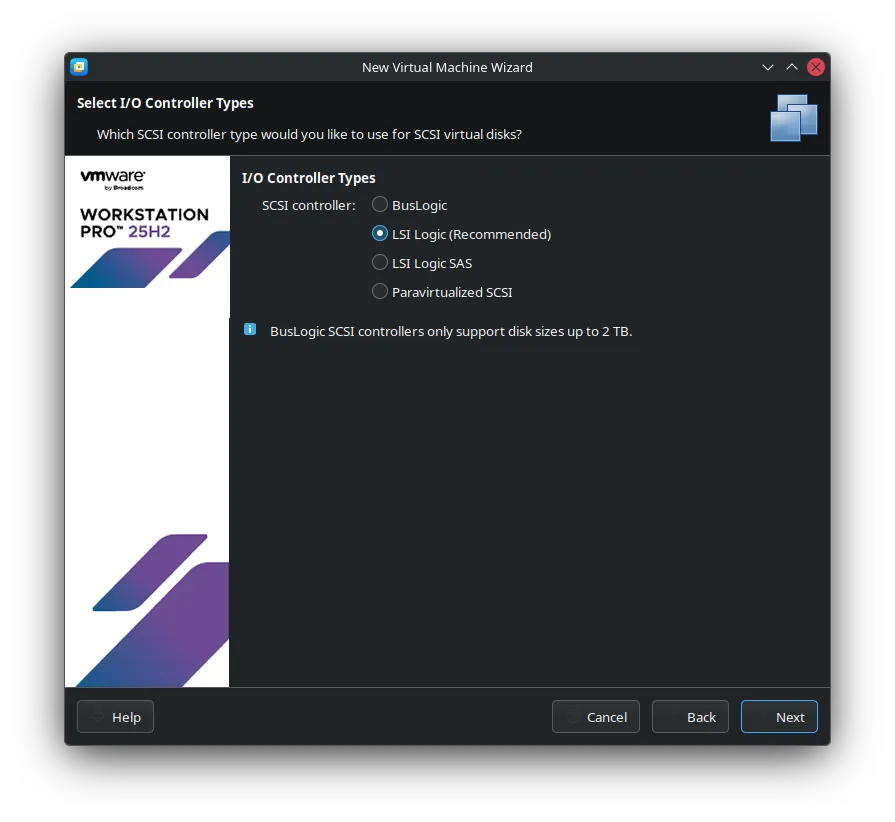
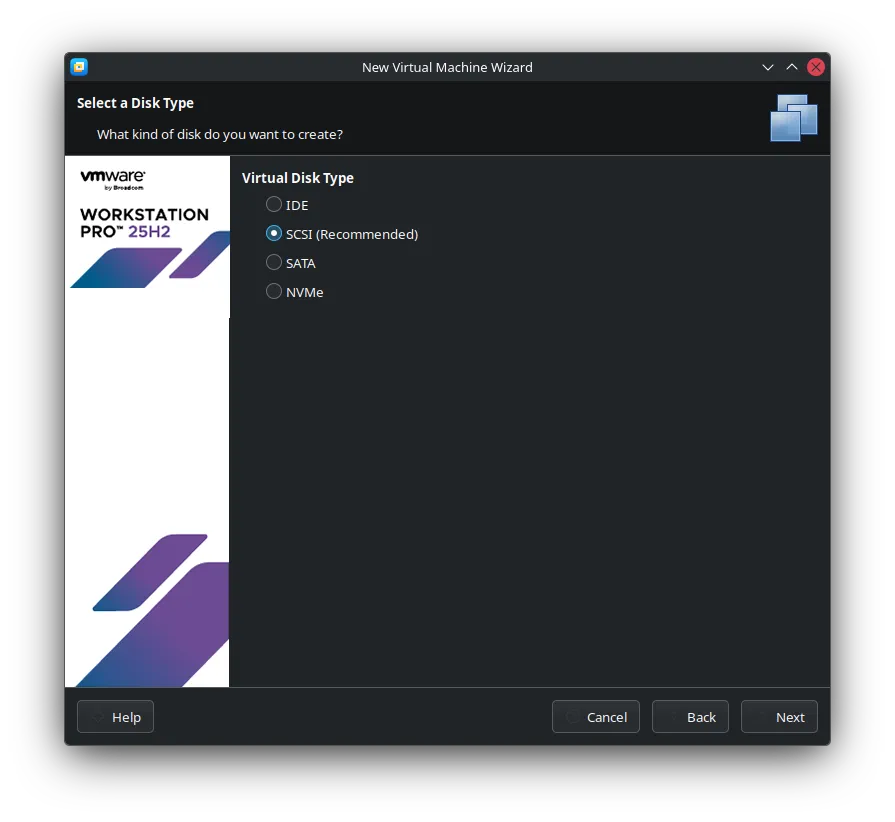
Starting below just follow the recommended suggestion. You can click “Next” through these pretty quickly.

For virtual RAM Memory based on website it says that 2GB (2048MB) is enough but I have extra RAM in my laptop so why not LOL. If you’re tight on RAM, 2048MB is perfectly fine. If you can spare it, 4096MB (4GB) will make things snappier.

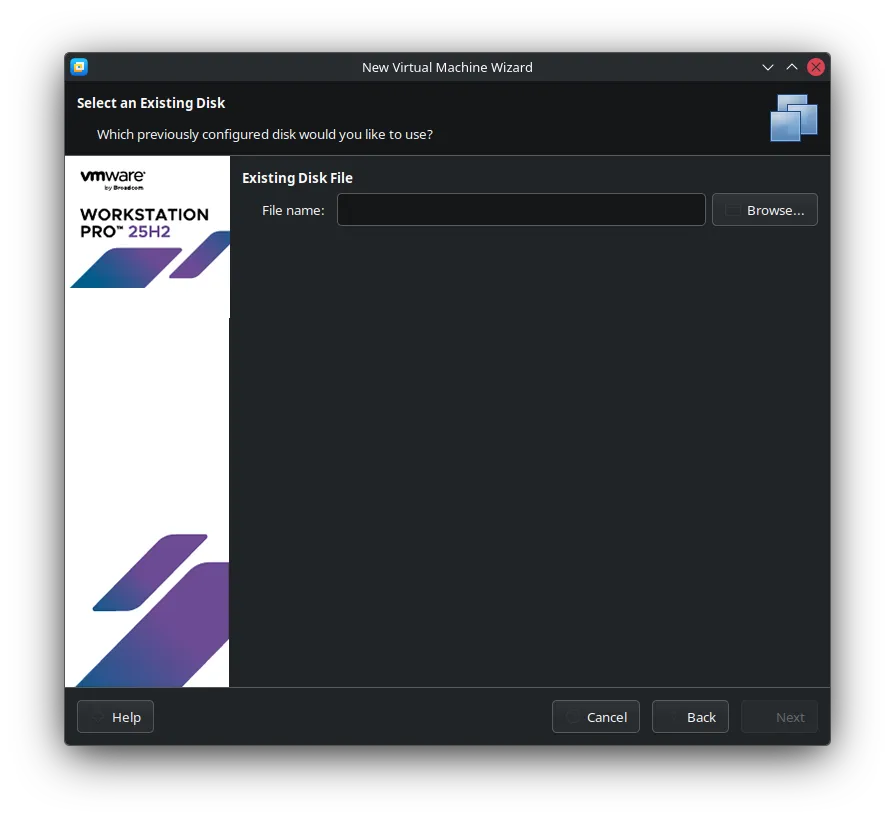
The Critical Step: For above, choose Use an existing virtual disk. This is where we tell VMWare, “Hey, don’t make a new one, use the SEEDLab disk I already have.” Click next.
Click Browse and go to the folder which you extracted the zip file earlier.
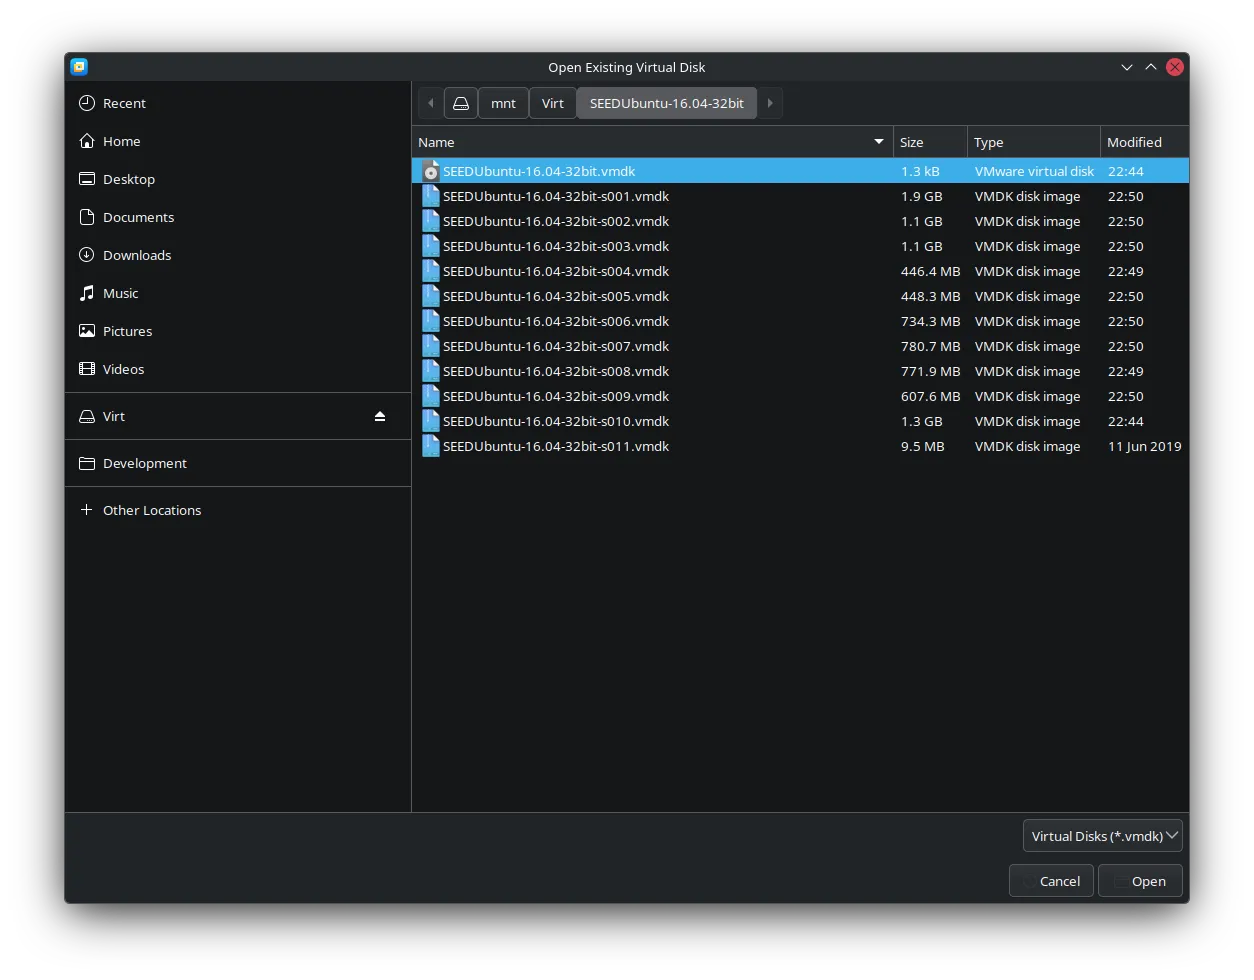
Choose the file named SEEDUbuntu-16.04-32bit.vmdk with the type of VMWare virtual disk and click Open. Double-check you’re selecting the .vmdk file, not the .vmx or .vmsd.
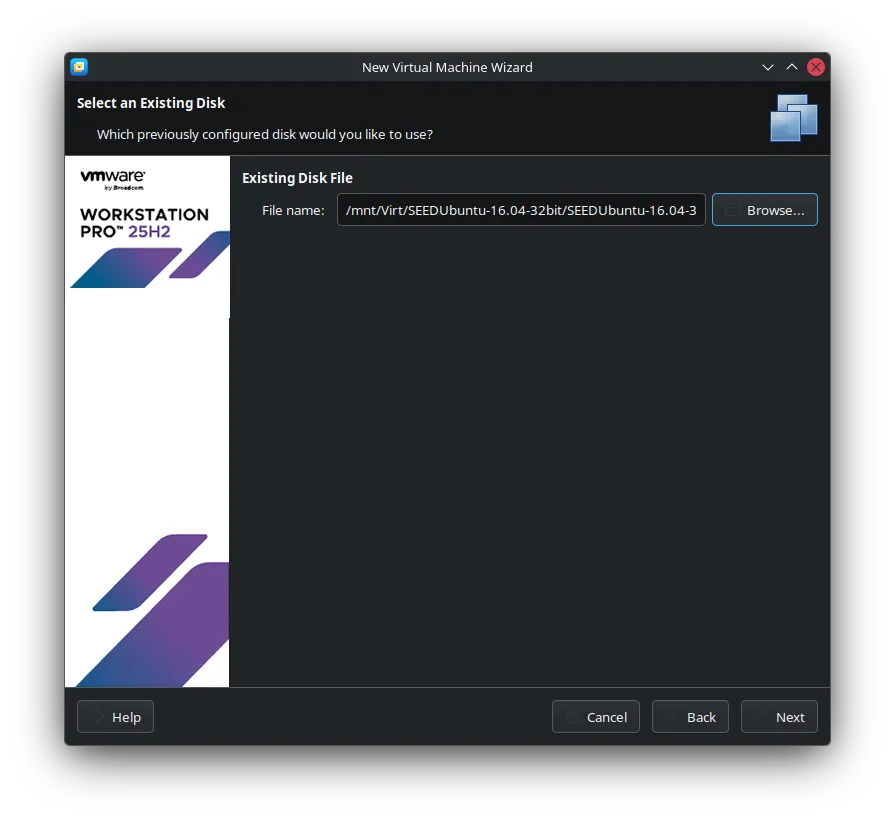
Once you confirmed it’s the correct file, click on next.
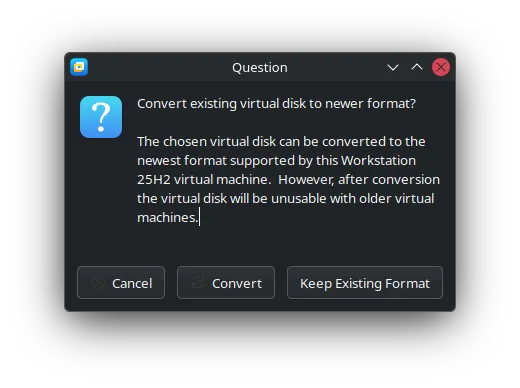
Just choose Keep Existing Format. There’s no need to convert it.
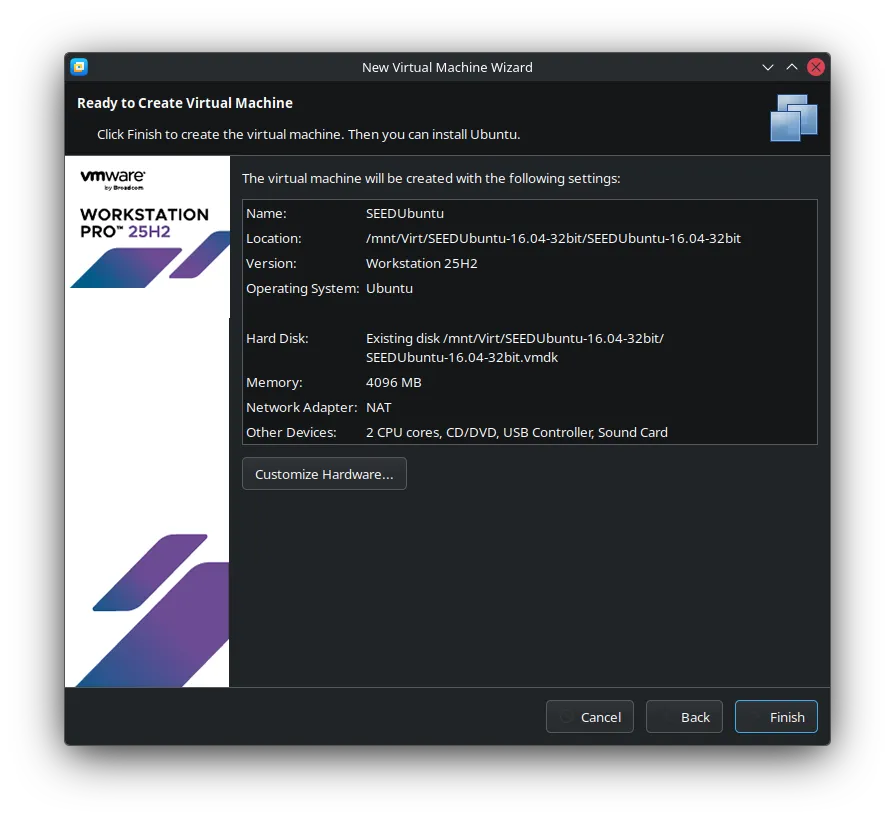
If satisfied, click on Finish. Don’t worry about the summary details too much.
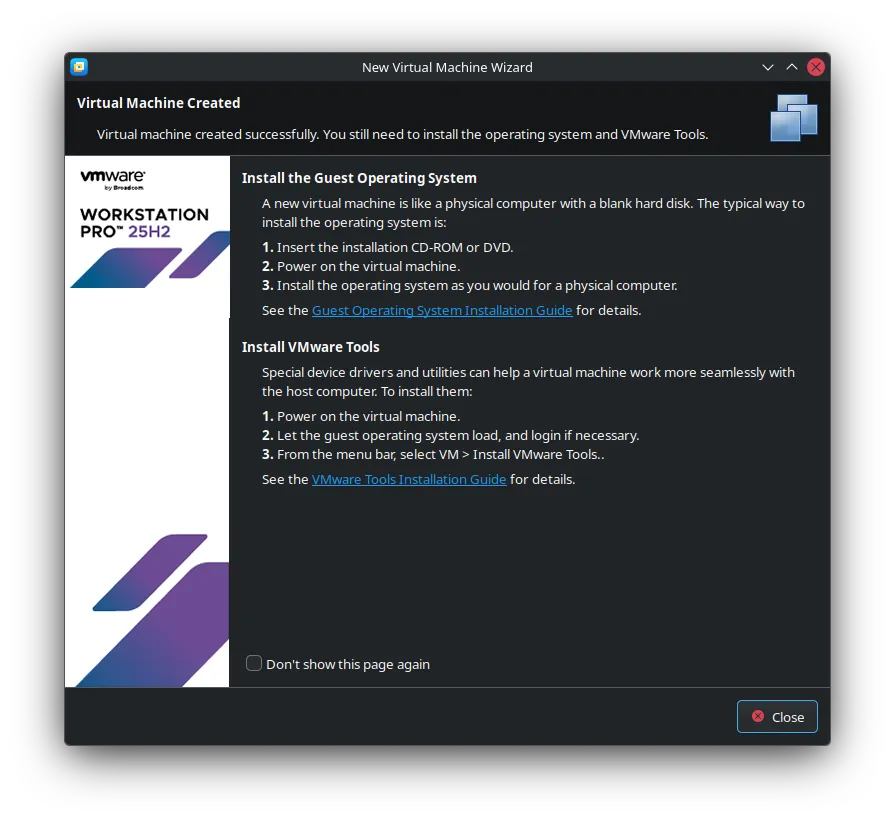
Sometimes this page will pop-up, just close it, not important. It’s just VMWare’s info page.
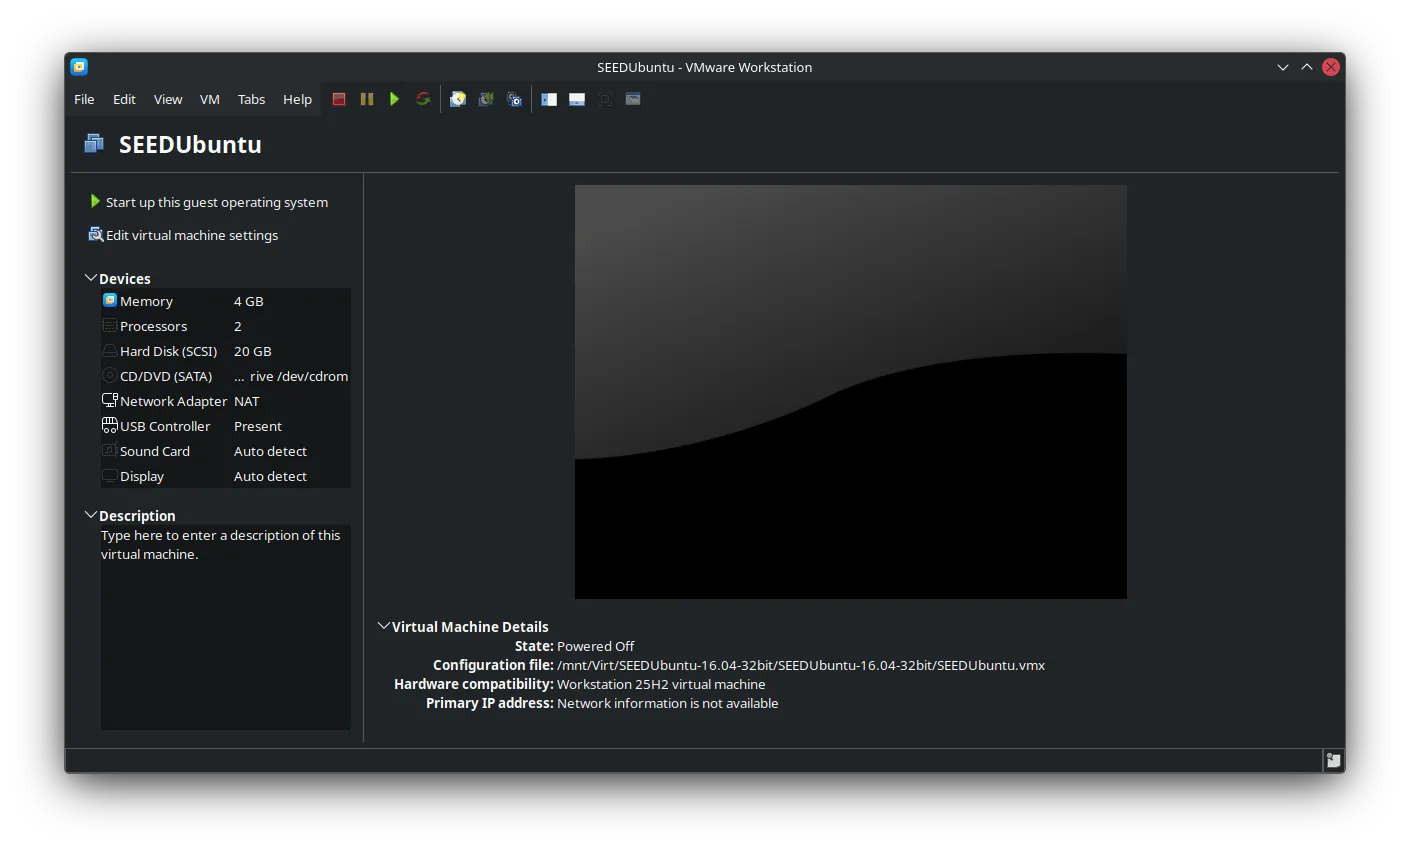
If you see this that means your Virtual Machine is setup correctly, just click on Start up this guest operating system…
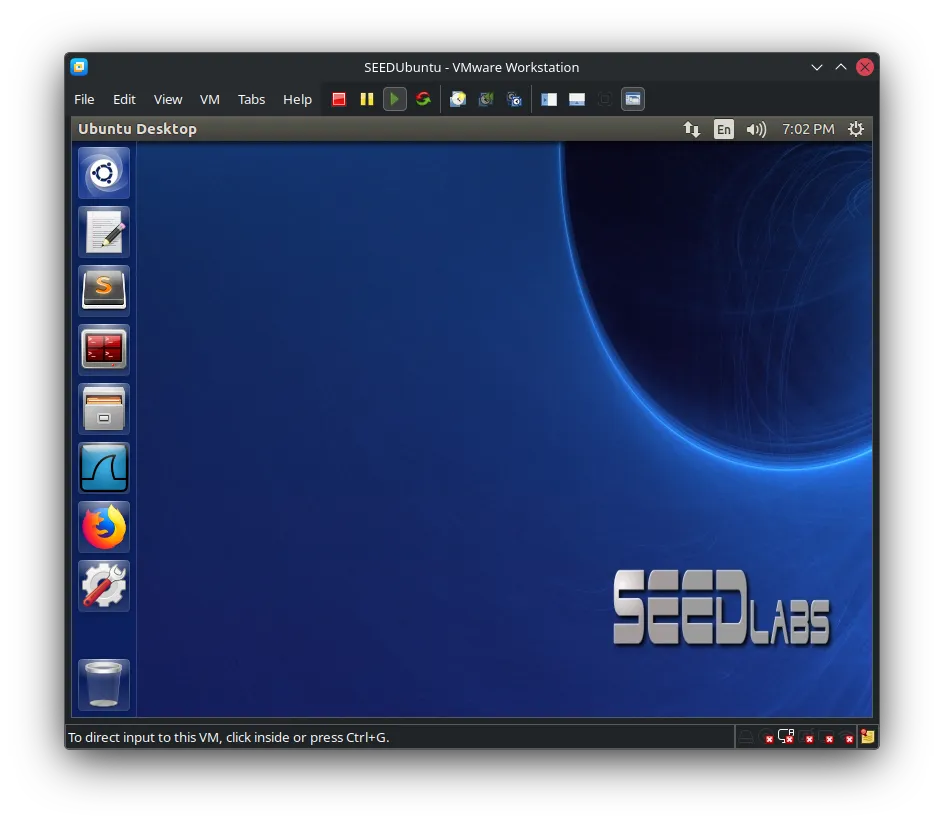
…and Voila! The VM should boot up into a login screen.
Login Credentials (SAVE THIS!):
- Username:
seed - Password:
dees
One last step is to install the VMWare Tools (well, the open-source version) and you are ready to rock this course! This step is crucial for things like copying/pasting between your host machine and the VM, better screen resolution, and shared folders.
Open a terminal. You can find it in the applications menu or just press Ctrl+Alt+T.
Type below command inside the Terminal and Enter. This updates the package list and installs the open-vm-tools package, then reboots to make sure everything is activated.
sudo apt update && sudo apt install open-vm-toolssudo reboot nowAfter the reboot, you’re all set! The VM will automatically log in with the seed user. Now you can start exploring the labs on the Desktop or follow your course material.
Done!